Introduction
The User Management Console in Snapfix allows you to add new users, manage roles, and control access—all from one central dashboard. Whether you are inviting team members, adjusting permissions, or removing users, the process is quick and straightforward.
📌 Note: Only Account Admins have access to manage users in Snapfix.
See below to Bulk Add Users
1. Access the User Management Console
- Go to web.snapfix.com and log in.
- In the left-hand menu, click ‘Site Console’.
- Navigate to the ‘Manage Users’ tab to view all current users.
2. Add a New User
- Click the blue ‘+’ button to create a new user profile.
- Enter the user's details:
- First Name
- Last Name
- Phone Number or Email Address
- Select the groups you want the user to join.
- Click the ‘+’ button to send the invite.
📌 How the Invitation Works:
- The invite will be sent via email or SMS.
- The user will appear under ‘Invited Users’ until they accept the invitation.
3. Manage Existing Users
- In the Users tab, click on the user you want to manage.
- You can update the following:
- Groups: Select or deselect groups to adjust their access.
- Role: Change their role (User or Admin).
- Devices: View and block devices they are logged in from.
- To remove a user from the account, select ‘Remove User’.
4. Save Your Changes
- Any updates made in the User Management Console are applied automatically.
- Users will receive notifications if their roles, groups, or permissions change.
Bulk Add Users
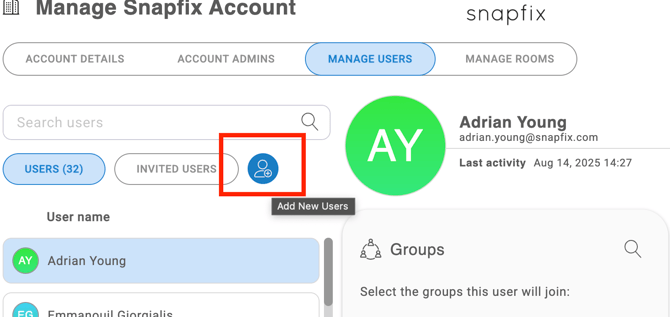
1. In the Manage User Section, click on the little person icon highlighted in the image below.
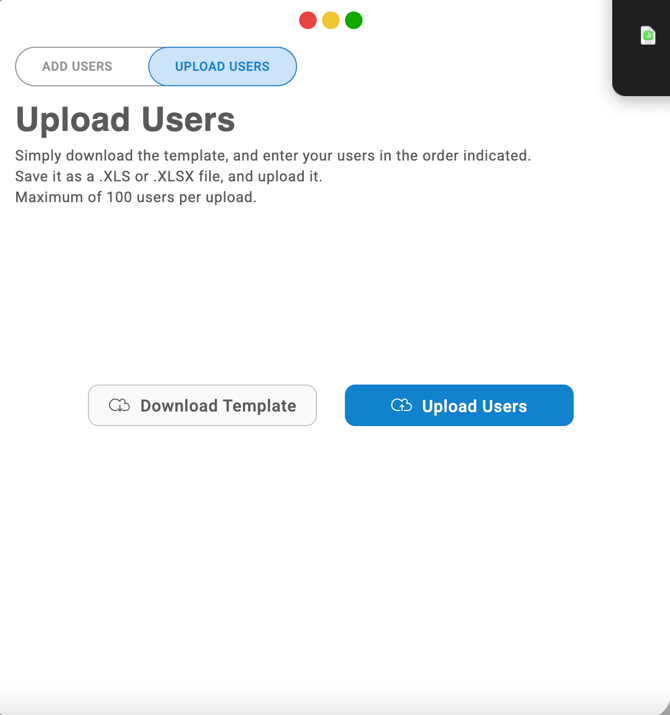
2. Click on 'Upload Users'.
3. Download the Excel template.
4. Fill in the user details as per the example on the template. Save your file.
5. Upload the file using the Upload utility.
6. You can make edits or fix errors prior to clicking 'Confirm Upload'.
7. Users are now added to the Account and you can select their User role (Admin or User) and the groups you wish for them to be in.
Troubleshooting & Additional Help
Not Receiving Invites?
If a user is not receiving an invitation email or SMS:
- Check the spam/junk folder.
- Ensure the correct email or phone number was entered.
- Contact Snapfix Support for assistance.
Related Help Articles
📖 How to Create a Group in Snapfix
📖 How to Assign Users to Tasks
Need Assistance? Contact Snapfix Support
📧 Email: support@snapfix.com
🎥 Watch the below video to see User Management in action